
Google has changed the way they manage API keys
From July 16 2018 Google have changed the way they offer Google Maps for embedding onto a client website. In the past, Google did not require your billing details to obtain an API key and get your website map functioning.
This recent change affects all of our clients that currently have a Google Map embedded on their website (usually on your contact page). Thankfully we’ve put together this quick and easy step-by-step guide to help you get your Map setup (or fixed) in no time.
Do these changes affect me?
Generally yes, but it’s not as bad as you may think. Google has changed pricing and cap levels but if you are currently using a simple static map, you will not need to worry about the new cap as these type of maps have no limit and therefore will not incur any charges.
If you use anything other than simple embedded maps on your website, such as a Dynamic Map or a Map with Street View, you will need to weigh up the increased charges.
What do I need to do next?
Your first step is to create your own free Google Account for your business. If you don’t yet have one you really should, as it unlocks many key tools for your website (such as Google Maps, Analytics, Search Console, Google Business Listing, and more).
Obtaining your API Key
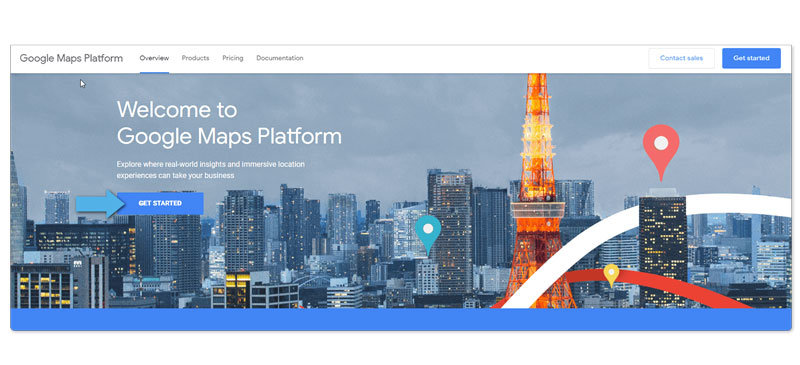
Step 1 – Create a Google Maps Account
- Log in with your Google Account and visit the Google Maps Platform
- Click ‘Get Started’
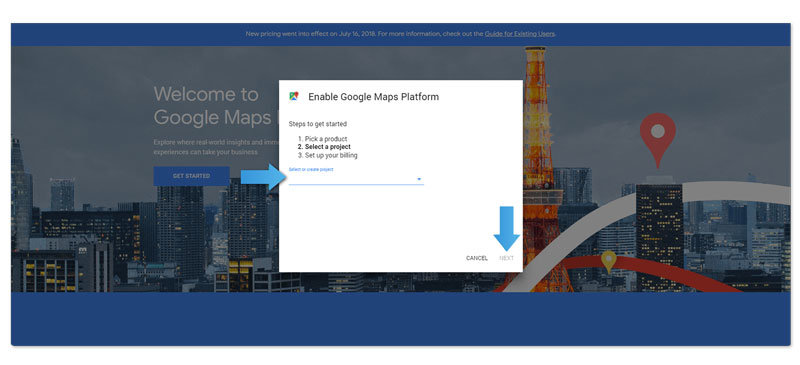
- Choose all 3 map options and click ‘Continue’

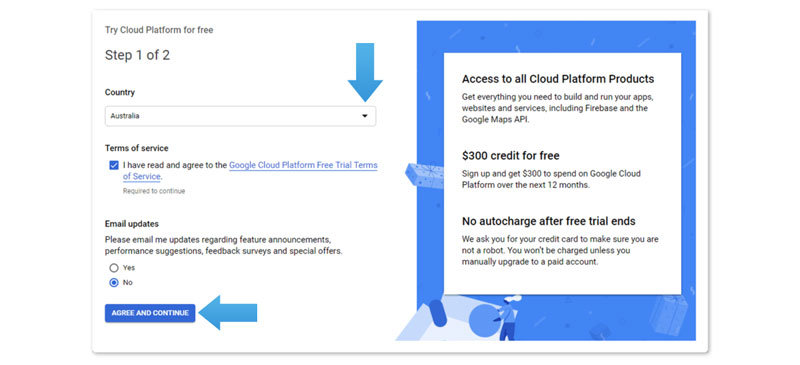
- Choose a Project name (such as the name of your website) and select ‘Yes’ after you have read the agreement. Click `Next’
Step 2 – Billing Account
- Click on `Create billing account’. You’ll be invited to configure a cloud account then to enter your account details including your billing information.
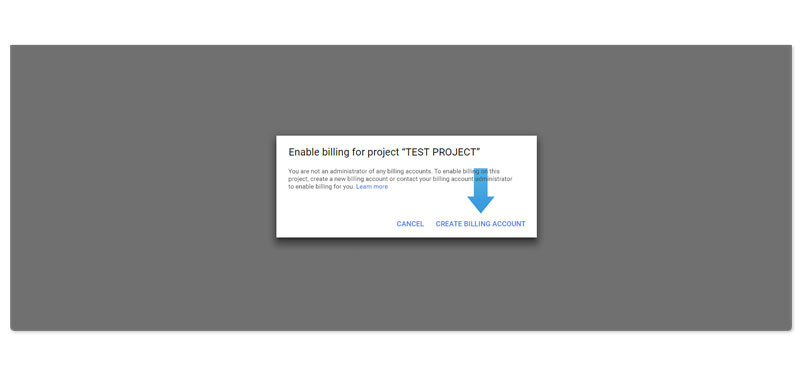
- You will be required to create a cloud platform before you can setup a new Google Maps API account. Once you have agreed to the Terms and Conditions, you will be taken to the billing details page.
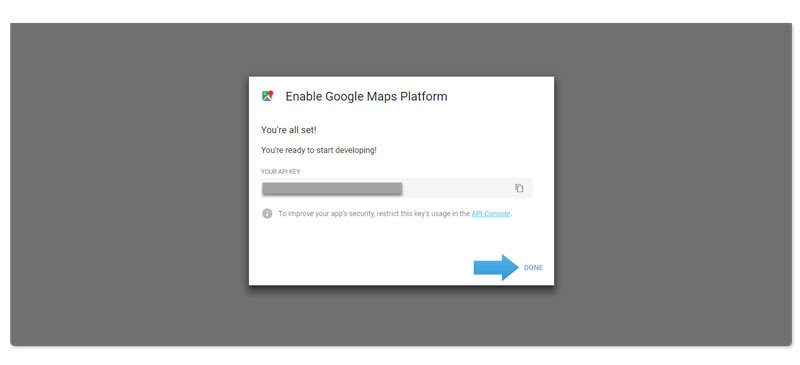
Step 3 – Retrieve API Key & send to Webedge
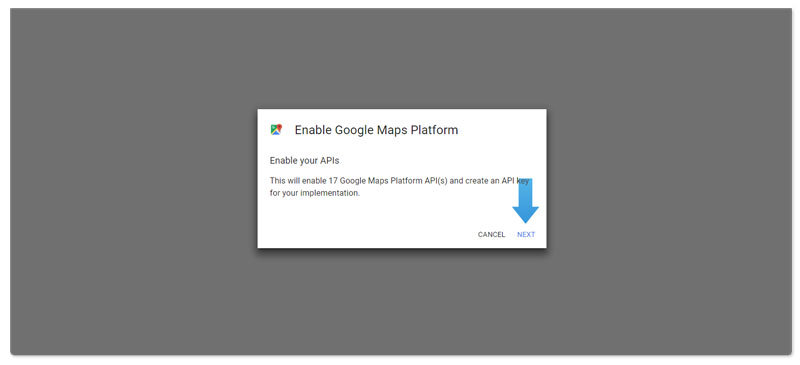
- Now you need to Enable the Google Maps Platform. Click `Next’
- Copy the API key that appears exactly as it is and send it to us here at Webedge to upgrade/install your new Google Map integration with your new API details.